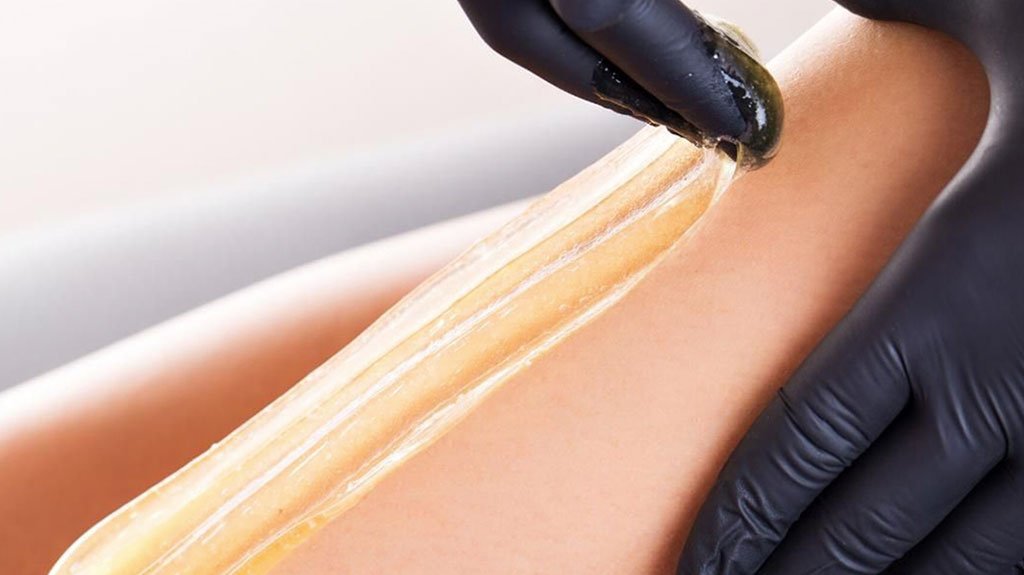
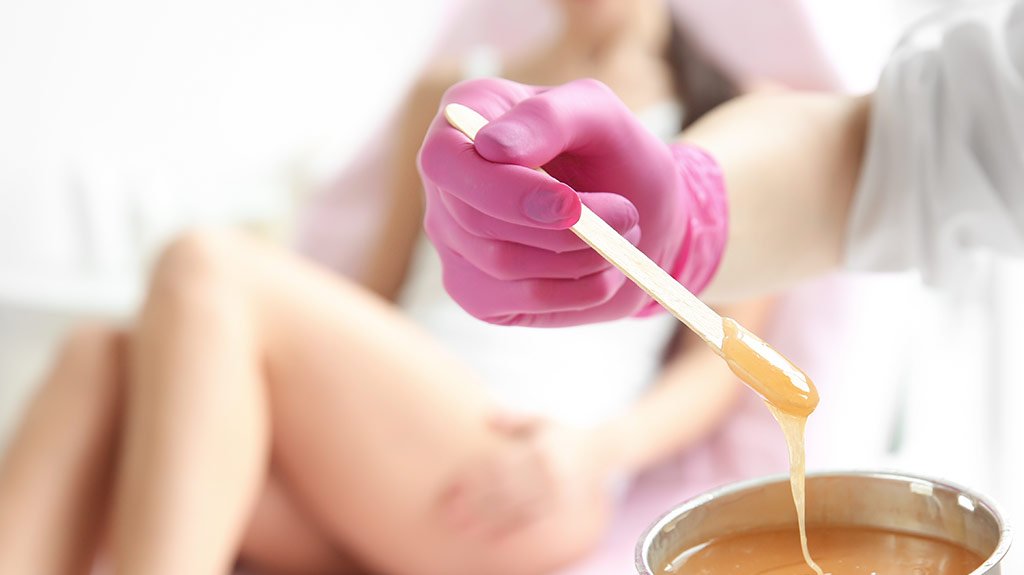
If you are starting out as a waxer, you want to buy the best waxing kits you can afford, and then keep it clean to protect your investment. Here’s what you need to know on how to clean wax warmer pots.
How to Remove Wax from Wax Warmer

Place the warmer on a level, heat-resistant, and stain-resistant surface.
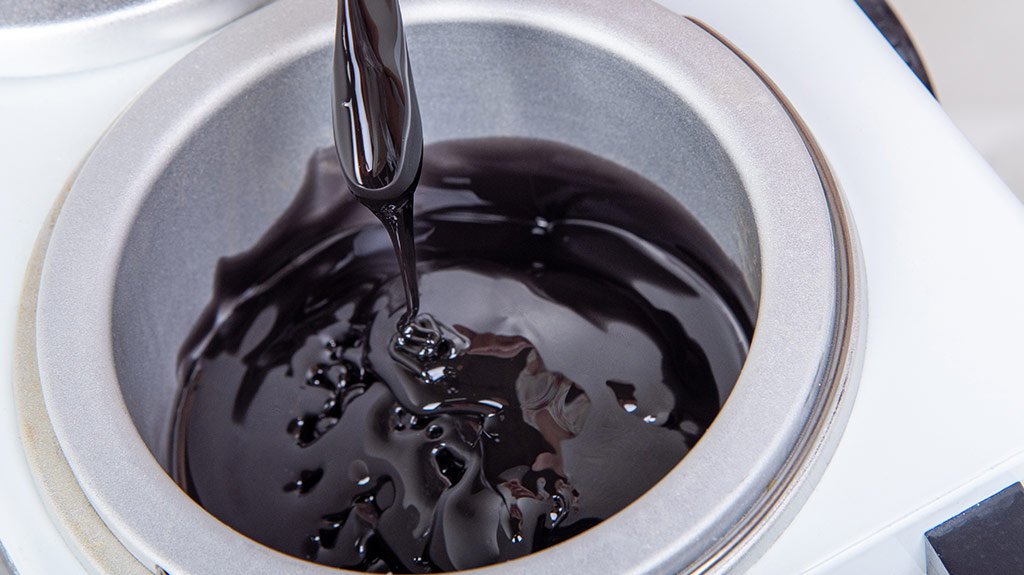
Typically, you needn’t remove the wax from the warmer to clean the unit. The wax should be kept clean because you should never double-dip the applicator into the wax. If you do want to know how to remove wax from warmer, the simplest way to get hardened wax out is to turn the warmer on until it is melted but not so hot that it will spill easily.
Regular Cleaning of the Outside of Your Warmer Pot
By keeping your wax pot clean, you will prevent wax build-up and sticky residue. Taking the time to clean the exterior of your wax pot after each client will make you a more professional waxer and keep your pot like new for the future. A messy-looking wax heater pot will not instill confidence in your clients about the hygiene of your salon, and not only looks bad but also can spread bacteria.
Here are the steps to safely and effectively clean a wax pot:
- You want to clean off any old wax residue from the outside of the pot. While the wax is still warm, you can use a waxing strip with a bit of baby oil to remove any drips. Dried-on cold wax will need a bit more hard work, which can be easier with a wax warmer cleaner.
- You can clean your wax warmer for waxing thoroughly at the end of each day. If it’s been off for a while, you’ll want to warm the pot before cleaning it to make the job easier.
NOTE: Do not heat your pot without wax in it as the device can overheat, causing the wax melting burner to fail.
-
If you want to remove all the wax from the inner chamber, heat up your wax pot warmer to a slightly higher temperature than normal. Heat until the melted wax is a thin consistency.
Remove the inner bucket and carefully pour the melted wax into a container for disposal or storage. If the wax is clean (meaning no double-dipping with applicators), sterilize the transfer container first with either rubbing alcohol or boiling water before pouring the wax in it. You can buy an affordable and reusable wax holder to store wax in by searching for “waxing bowl” online. - If the wax is old, then you need to dispose of it correctly. Do not pour liquid wax or wax cleaners down the drain, as doing so will damage pipes and block the drain when the wax solidifies.
- Continue cleaning by allowing the mostly empty inner container bucket to cool down slightly. If the pot is too hot, a liquid cleaner will smoke, and you don’t want to inhale the evaporated steam from the cleaner. You want it just warm enough to melt the wax.
- Pour in whichever cleaner you are using, such as mineral (baby) oil or a ready-made wax cleaner, into the container, and allow some wax to be dissolved away. Our Wax Warmer Cleaner is an all-purpose cleaner and specially formulated for all professional wax products.

- Some beauticians use cotton pads or paper towels to soak up the liquid, but purists advise against this. Swirl a clean wax strip around the chamber with a disposable wooden applicator stick or use a new kitchen spatula, so you don't burn your fingers. Continue swabbing up the inner sides.
- You may want to repeat some steps until you get rid of all the old wax.
- When the chamber is cooler, lift it completely out, and clean the bottom. Rubbing alcohol can be used to clean up excess oil but only use it on the metal chamber, not the exterior of the pot.
- Use a wax solvent or oil to clean inside the bottom of the pot and any stray wax from the exterior of the pot. Be sure to wipe down the inside with a waxing strip or paper towel. Sterilize the inner bucket with boiling water or rubbing alcohol (do not use on the plastic outer pot because, over time, it will cause it to crack.
Tips and Takeaway
Now that you know how to clean a wax warmer, you will get quicker at it. As you wax more, you will be able to avoid drips. Here are some additional tips:
- Using inexpensive and disposable paper collars around your wax pot can guard it against inevitable drips and stains.
- Take care when cleaning to make sure the pot’s off, and the wax has cooled sufficiently so that you don’t burn your fingers. For safety, wear protective gloves like black nitrile gloves when cleaning out a wax pot just in case.
- Avoid getting wax on clothing or other surfaces. If you need to how to remove body wax from surfaces other than the waxing pot, you can try icing it to remove most of the wax, following it with wax cleaner or baby oil on hard surfaces.
- You may wonder what to do with old wax melts or hard wax beads. They don’t expire like hair coloring, although they could lose their scent after prolonged storage. Keep unused wax in a relatively cool environment free from dust.
- If you want to know how to remove body wax from surfaces, try applying wax equipment cleaner sparingly to a cloth to break down the wax and remove it from carpet, counters, clothing, etc. Follow with plain water on a cloth to remove product residue.
- Oily wax equipment cleaner is an essential wax accessory to cut down on time cleaning your body wax warmer.
- A professional wax warmer for waxing body hair is different from the wax melting burner used for wax melts for releasing fragrances, but you can use the same device for an eyebrow wax machine.


Leave a comment
This site is protected by hCaptcha and the hCaptcha Privacy Policy and Terms of Service apply.