
Home Waxing Kits: Everything You Need to Know
When creating a professional waxing kit, you might assume that you have it all figured out. However, for those simply getting into the waxing business, or if it has been a while since you purchased a kit, this guide will provide some tips to consider before investing in a new one.
Soft Wax versus Hard Wax
You will find two types of at-home waxing kits: soft wax and hard wax.
Soft wax needs no special preparation. They can be applied straight to the skin right out of the container. This is the type of wax you need if you are planning to cover a larger surface area, such as your legs.
As the name suggests, hard wax is solid at room temperature. You should heat it up in either a microwave or wax warmer before you apply it to your skin.
Hard wax is a popular option because it is not as sticky as soft wax. It is also easier to clean up after. Remember that hard wax could grab short hairs, and you can always go over again if you miss a spot.
Information about home waxing kits
For delicate regions like the brows, the lips, or the bikini line, pre-coated wax strips are a great, mess-free option. You're less likely to break out in a rash or other unpleasant side effects from waxing than you are from using a cream hair remover. Buying an at-home waxing kit with everything you need can save you money compared to getting your hair or body waxed professionally. The length of time between touch-ups is one of the largest benefits. In contrast to shorter-lasting methods like shaving or tweezing, waxing prevents regrowth for up to two weeks.
When you wax, the hair is pulled out by the follicle, which leaves the follicles open and invites bacteria to enter. When you get a wax, the top layer of dry, dead skin is stripped away. While this results in softer skin, it also makes your skin more prone to irritation. It is crucial to take precautions prior to waxing and to care for the skin thereafter in order to avoid injuries including abrasions, burns, and infections.
What are the Components of the At-Home Waxing Kit Components?
Waxing kits are often composed of packs of soft wax and hard wax, applicator strips or sticks, and potentially a wax warmer.
The wax warmer is the most crucial part of the kit. It is the only component that is meant to be reused repeatedly, so you like to ensure that you invest in a great one.
- Applicator strips and sticks
Hard wax kits come with sticks helping you apply the wax. After the wax becomes dry, you can peel that off with your hands. On top of that, soft waxing kits come with strips, which you press over the wax and peel off to remove the hair.
- Wax
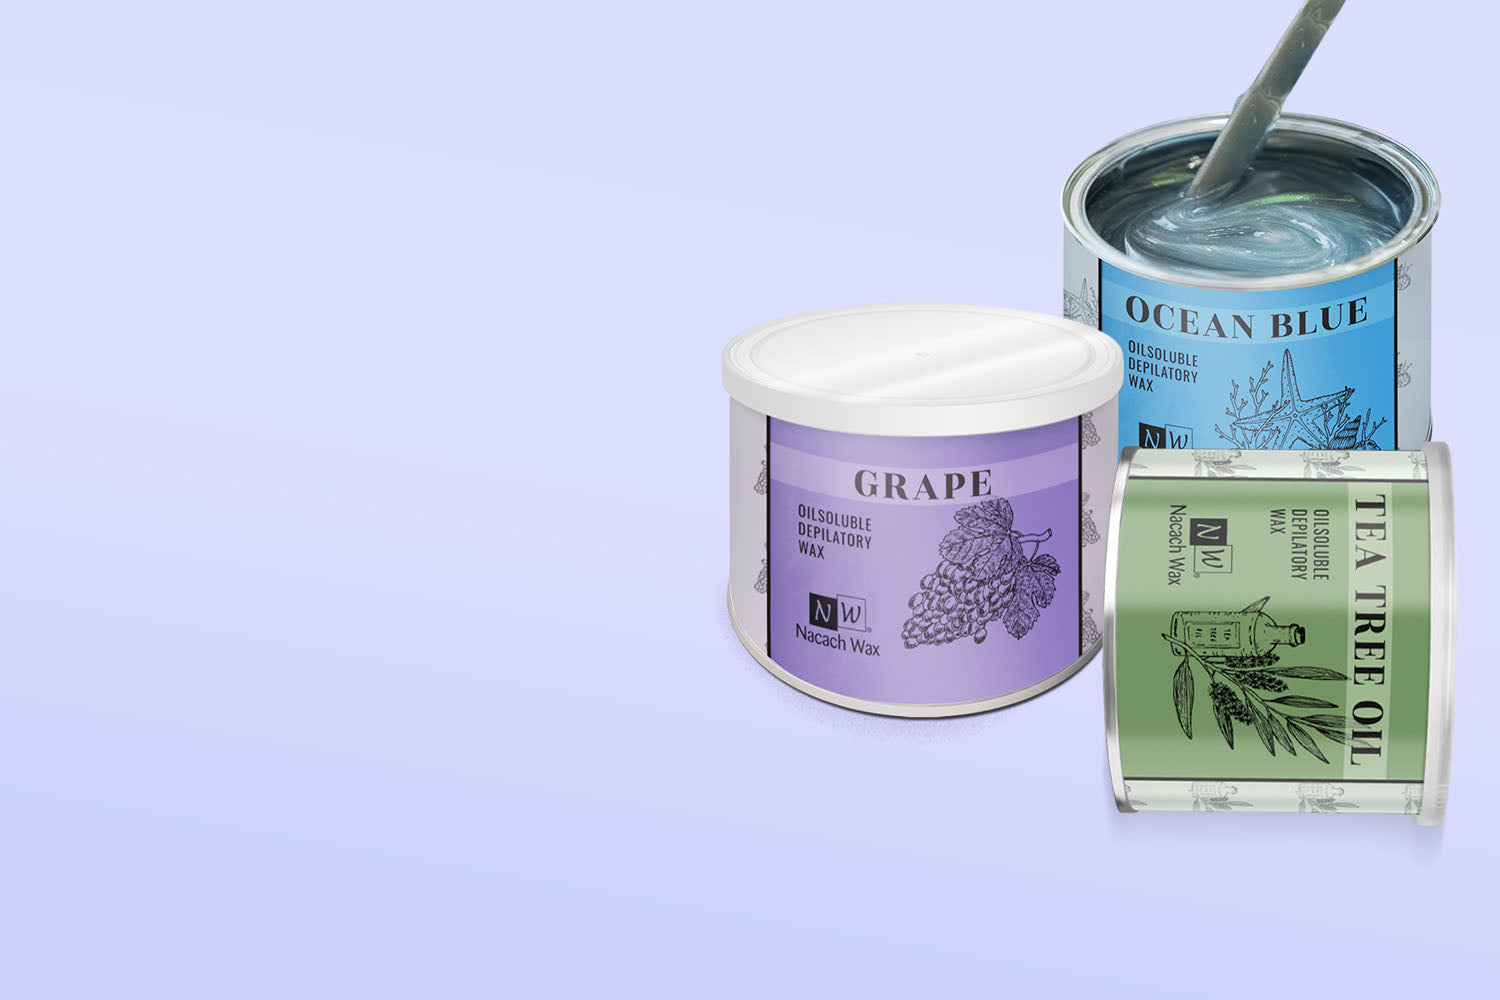
Other at-home waxing kits have wax with various scents, so you can pick the one that fits your mood. When selecting a kit, always consider the quantity of wax that comes with it, and ensure it is the kind that fits your needs.
How Much Do Waxing Kits Cost?
At-home waxing kits could range from $10 and $50.
- Premium – It might be worth spending at least $50 for a kit with a costlier wax warmer if you wish for a quality machine that is going to last you a long time.
- Mid-range – You must expect to spend about $20 and $40 if you are searching for a top-notch waxing kit that has a wax warmer.
- Basic – You can buy a basic waxing kit with wax and some applicator strips or sticks for between $10 and $20. You will not get scented wax in this price range. Do not expect a warmer if you are looking into hard wax kits.
There you have it! No matter how or where you choose to place your professional waxing kit together, we hope you can use the tips above. Are you ready to purchase your waxing kit?
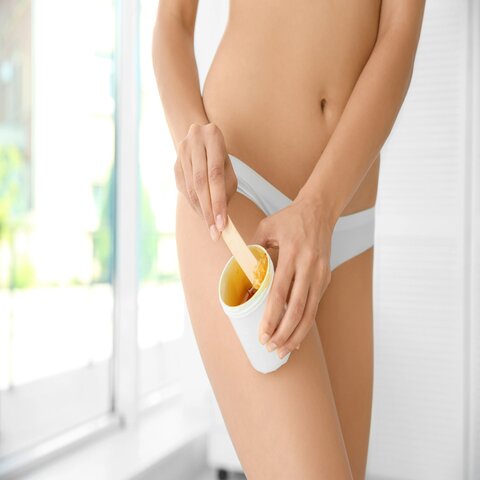
The Process of home waxing
If you want to make sure the heated wax isn't too hot to handle before putting the strip, put a small patch on your outer wrist first. When applying wax to your skin, whether using strips or not, it is best to go with the grain. Strips should always be applied in the same direction. Make sure you're following the wax's precise directions.
Not all waxes can be extracted immediately, though; some need to solidify first. To prepare for the pull, hold your skin taut by pulling it ever-so-slightly in the direction of hair development with one hand. Then, quickly and easily remove the strip or wax by pulling it off in the opposite direction with the other hand. Calm down by taking a deep breath and letting it out slowly while you pull hard. In order to clean off any wax residue or stray hairs, use wipes and tweezers, respectively. Applying an anti-bacterial product right after a wax is the best way to calm your skin and keep your pores clear. Last but not least, exfoliate regularly to keep your skin soft and free of ingrown hairs.
Leave a comment
This site is protected by hCaptcha and the hCaptcha Privacy Policy and Terms of Service apply.